The harmful effects of using curling irons can lead to scalp allergies due to exposure to chemicals or heat reactions, resulting in issues like dry, brittle, split ends and hair breakage. So, how can you achieve natural curls? The following methods for natural curls will help you minimize the adverse effects of curling irons and give you a more alluring appearance with beautifully wavy hair, as if dancing in the wind. Let’s explore these techniques together on Blog Nicehairvietnam!
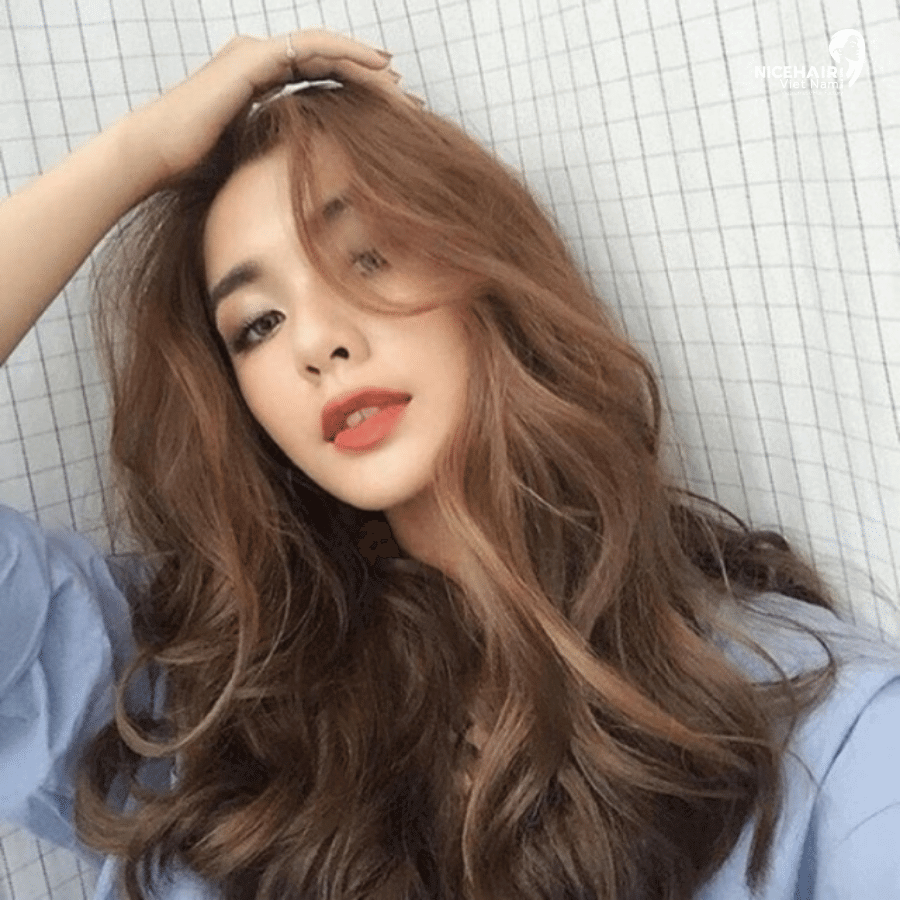
The process of creating natural curls is often quite simple because you don’t need to rely on heat or chemicals to curl your hair. This can be a suitable method if you want to maintain the health and beauty of your hair naturally and protect it from damage.
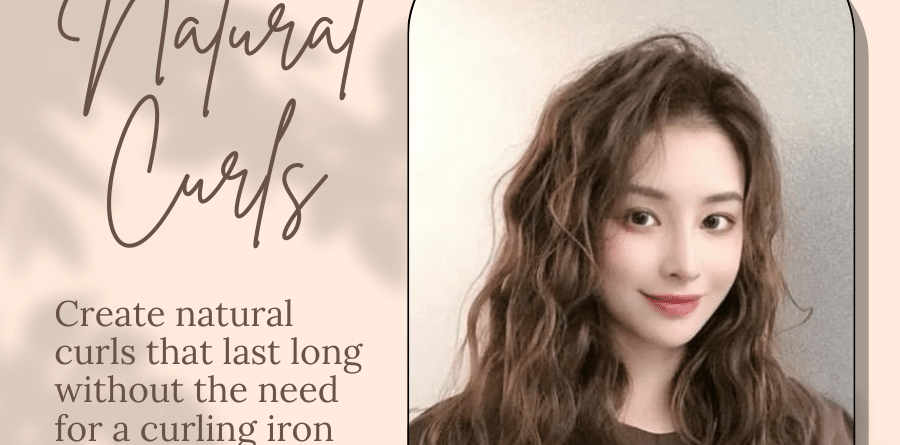
Create long lasting natural curls without using a curling iron
Bun method to create this beautifully wavy hair
When it comes to styling our hair, achieving natural looking curls is a timeless trend that never goes out of style. However, using heat styling tools and chemical treatments to curl our hair can often lead to damage and dryness. Luckily, there’s a simple and gentle approach to getting those beautiful curls without the need for heat or harsh chemicals – the bun method! In this article, we’ll explore the step by step process of creating natural curls using this fantastic technique, which not only saves time but also keeps your hair healthy and vibrant.
- Step 1: Elevate your hair to begin this natural curling journey, gather all your hair up to the crown of your head, allowing the ends to point towards the ceiling. This ensures that the curls will take shape from the roots, giving your hair an uplifted and bouncy appearance.
- Step 2: Twirl and secure now, the real magic happens! Start coiling your hair from the ends towards the top of your head, forming a neat round bun. Once the bun is in place, secure it firmly using a hair tie or a scrunchie. This method locks the curls in position and encourages the hair to adopt a wavy pattern.
- Step 3: Let time work its magic patience is key in achieving natural curls with the bun method. Allow some time for the hair to set while keeping the bun intact. You can go about your daily activities or simply relax while the curls form and take shape.
- Step 4: It’s time to unveil your gorgeous curls! Carefully undo the hair tie and release the bun. As you do this, you’ll notice the hair cascading into beautiful, natural curls that possess a soft and voluminous appeal. The result is a stunning hairstyle that complements any look, from casual to elegant.
In this hairstyle, you will get:
- No heat damage: By eliminating the use of heat styling tools, the bun method protects your hair from the harmful effects of excessive heat, preventing dryness and breakage.
- Time saving: This technique allows you to create stunning curls effortlessly while multitasking or relaxing, making it perfect for those with busy schedules.
- Natural and gentle: As the name suggests, the bun method relies on natural curling without the need for chemicals, making it a gentle option for your precious locks.
- Versatile look: The curls achieved through the bun method have a natural bounce and softness that complements various hairstyles, providing you with a versatile and timeless appearance.
Say goodbye to the woes of heat damage and chemical treatments and embrace the beauty of natural curls using the easy bun method. This gentle and straightforward technique not only saves time but also helps maintain the health and vitality of your hair. With a little patience and some creativity, you can achieve a charming and alluring look with those naturally bouncy curls. So, give your hair the tender loving care it deserves and enjoy flaunting your new, radiant hairstyle!
Create natural curls using a pencil
If you’re looking to achieve beautifully bouncy natural curls but without the use of heat or styling tools, then the pencil method might be just the solution for you! This simple yet effective technique allows you to create gorgeous curls, one section at a time, giving you the freedom to control the level of curliness according to your preferences. In this article, we’ll guide you through the step by step process of achieving those stunning natural curls using nothing but a pencil.
- Step 1: Divide and conquer to begin the curling process, divide your hair into small, equal sections. This ensures that each strand receives equal attention and results in uniform curls throughout your mane.
- Step 2: Take a regular pencil and starting from the tips of the hair section, carefully wrap the hair around the pencil, rolling it upwards towards the desired curling point. You can choose how far up you want the curls to start, depending on your preference for tight or loose curls.
- Step 3: You’ve rolled the hair around the pencil, hold it in place for about 3 minutes. This waiting period allows the hair to adopt the shape of the curl, setting it in place.
- Step 4: After the 3 minute mark, gently release the hair from the pencil and move on to the next section of hair. Repeat the same process of wrapping and holding the pencil in place until you’ve curled all the desired sections.
Benefits of the pencil method:
- Heat free styling: unlike traditional curling methods that involve heat, the pencil method is gentle on your hair, reducing the risk of damage and dryness.
- Customizable curls: With the pencil method, you have complete control over the level of curliness, allowing you to create a natural look that suits your style and preferences.
- Cost effective: No need to invest in expensive curling tools or products; all you need is a regular pencil to achieve those lovely curls.
- Quick and easy: This method is relatively quick, making it ideal for those mornings when you’re short on time but still want to sport gorgeous curls.
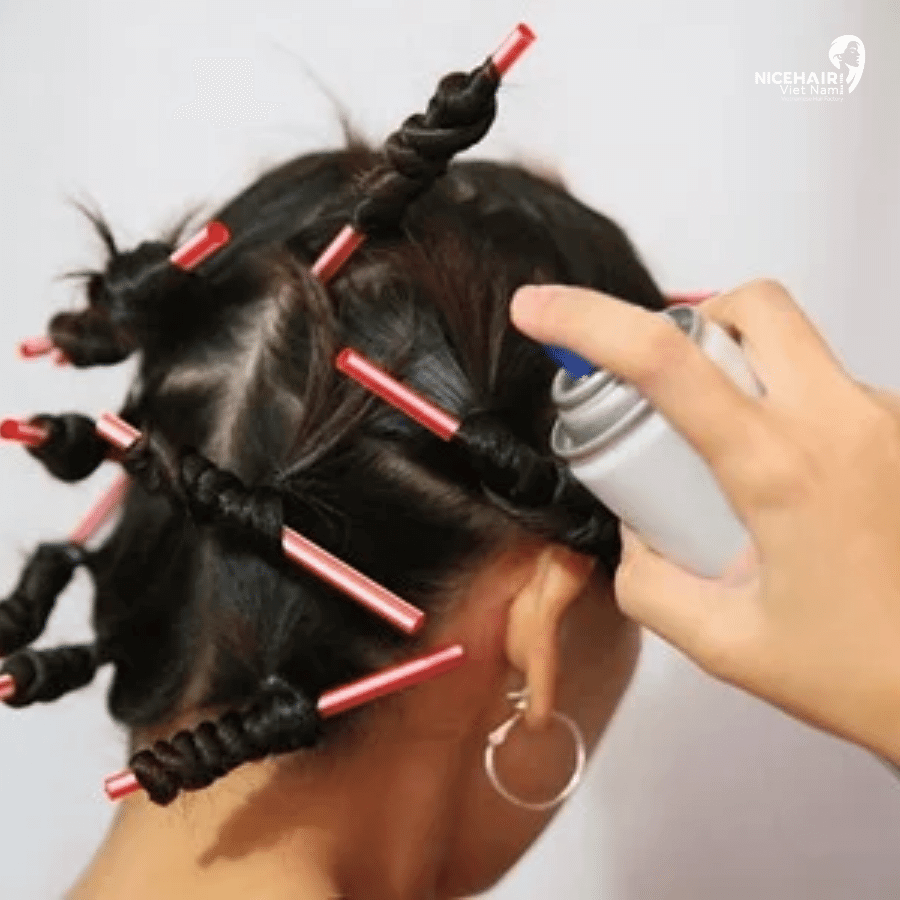
Using a hair rollers
Curling hair using a hair rollers has become a popular choice among many women due to its simplicity and highly effective results. Whether you want soft waves or bouncy curls, a hair rollers can help you achieve your desired look with ease. Let’s walk you through the step by step process of curling your hair using a hair rollers, which is not only straightforward but also delivers fantastic results.
- Step 1: Before starting the curling process, ensure your hair is smooth and tangle free. Brush through your hair to eliminate any knots, making it easier to curl without any snags or difficulties.
- Step 2: Divide your hair into small, equal sections to ensure an even curling process. Using the hair rollers, take one section at a time and wrap the hair around the barrel of the curling iron, starting from the roots and working your way to the ends.
- Step 3: As you wrap each section of hair around the hair rollers, hold it in place for a few seconds (usually around 10 – 15 seconds) to allow the hair to heat up and set the curl. Be careful not to apply too much pressure or keep the iron on the hair for too long to prevent heat damage.
- Step 4: Continue curling each section of hair until you’ve covered your entire head. For a more natural look, you can alternate the direction of the curls, curling some sections away from your face and others towards it.
- Step 5: After you’ve finished curling all sections, allow your hair to cool down and set the curls. You can let your hair cool naturally or gently run your fingers through the curls to speed up the cooling process.
- Step 6: Once your curls have cooled and set, you can gently shake out your hair to separate the curls and achieve a more natural, voluminous look. Finish with a light hold hairspray to ensure your curls stay in place throughout the day.
Benefits of this method:
- Versatile styling: A hair rollers offers a wide range of styling possibilities, allowing you to create various curl sizes and textures.
- Easy to use: With a little practice, using a hair rollers becomes a breeze, making it a convenient option for everyday styling or special occasions.
- Long lasting results: Hair rollers can help your curls last for hours, giving you a beautifully styled look that holds up well over time.
Curling hair with socks
Did you know that you can achieve stunning natural curls with a simple and unexpected item like a pair of clean short socks? Yes, it’s true! Curling your hair with socks is an effective and eye catching technique that can give you gorgeous curls without the need for heat or styling tools. In this article, we’ll guide you through the steps of using socks to curl your hair naturally, resulting in a head turning and effortless curly hairstyle.
- Step 1: Start by brushing your hair to ensure it is smooth and tangle free. Then, lightly spritz some water onto the ends of your hair, avoiding the roots and scalp. This dampens the hair slightly, helping to set the curls without making your hair too damp or greasy.
- Step 2: Take a small section of hair from the top, and position the tail end of the hair on the middle of the sock. The sock will act as a makeshift curler for your hair.
- Step 3: Gradually start rolling the hair up over the sock, moving towards the roots. This rolling motion creates the curl effect. Once the entire section is rolled up, secure the hair in place by tying the two ends of the sock together.
- Step 4: Repeat the rolling process for the rest of your hair, taking small sections at a time. Remember to keep the sections even to achieve uniform curls throughout your hair.
- Step 5: Now, with your hair all curled up in socks, it’s time to go to bed! Leave the socks in your hair overnight to allow the curls to set and develop.
- Step 6: The next morning, gently untie and unravel the socks from your hair. Watch as your hair transforms into beautifully defined and natural curls.
In this mothod, you will get:
- Heatfree styling: Curling with socks avoids the damage that heat styling tools can cause to your hair, promoting healthier and more resilient tresses.
- Cost effective: Socks are readily available and a budget-friendly alternative to traditional curlers or curling irons.
- Comfortable sleep styling: Since you sleep with the socks in your hair, it’s a comfortable way to achieve stunning curls without any discomfort.
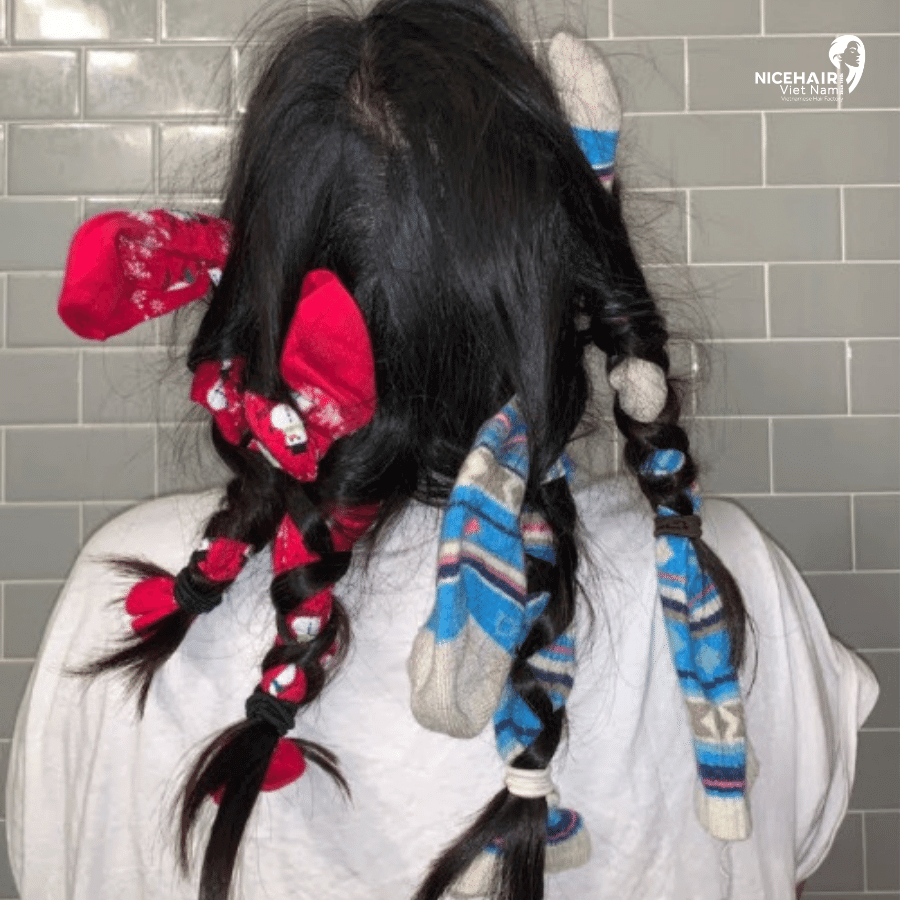
Curling hair with a T-shirt
If you desire soft and bouncy curls without resorting to heat or expensive curling tools, then the t-shirt method might just be the solution for you! Using a stretchy t-shirt, you can create beautiful curls that add volume and texture to your hair. We’ll guide you through the steps of curling your hair with a t-shirt, allowing you to wake up to stunning, naturally styled curls that will leave you feeling confident and fabulous.
- Step 1: To begin, take a t-shirt and twist it into a circular loop. Tie the ends together to form a large hair tie or makeshift curler.
- Step 2: Brush your hair thoroughly to ensure it’s smooth and tangle free. Place the t-shirt loop on top of your head like a headband, allowing it to rest on your forehead and around the crown of your head.
- Step 3: Take a small section of hair and begin wrapping it around the t-shirt loop. Continue wrapping until you reach the ends of the hair. Repeat this process for the remaining sections of your hair, making sure to wrap the hair evenly around the t-shirt loop.
- Step 4: Once all your hair is wrapped around the t-shirt loop, it’s time to go to bed! The t-shirt will securely hold your hair in place while you sleep, allowing the curls to set and develop naturally.
- Step 5: In the morning, gently untie and unravel the t-shirt loop from your hair. Watch as your hair transforms into gorgeous, cascading curls.
Benefits of the t-shirt method:
- Heat free styling: By using a t-shirt, you avoid exposing your hair to damaging heat, maintaining its health and natural shine.
- Cost effective: The t-shirt method is a budget-friendly alternative to expensive curling tools, making it accessible to anyone.
- Comfortable sleep styling: Unlike traditional curlers, the soft and stretchy fabric of a t-shirt ensures a comfortable night’s sleep while curling your hair.
Cornrow hairstyle for creating curls
If you’re looking for a simple and heat free way to achieve natural curls, then the cornrow hairstyle might be the perfect solution for you. This method allows you to create beautiful curls without the need for any heat styling tools and can be easily done at home. In this article, we’ll guide you through the steps of achieving natural curls using the cornrow technique, ensuring your hair stays healthy and damage free.
- Step 1: Begin by dampening your hair slightly to make it more pliable for styling. Apply a small amount of hair gel to smooth and soften your hair, ensuring it easily conforms to the cornrows.
- Step 2: Divide your hair into equal sections, and then proceed to create cornrows as you normally would. Start braiding the hair close to the scalp, weaving the sections together in a neat pattern.
- Step 3: While creating the cornrows, ensure not to braid too tightly, as this can strain the hair, leading to breakage and reduced elasticity. Instead, aim for looser braids that allow your hair to breathe and maintain its natural bounce.
- Step 4: After you’ve finished cornrowing your hair, let it sit for a while to set the curls. Once you’re ready to unveil your curls, gently unravel the cornrows. This will reveal stunning, naturally formed curls that exude a carefree and voluminous appeal.
Benefits of this method:
- Heat free styling: By opting for the cornrow method, you eliminate the use of damaging heat on your hair, preserving its health and natural texture.
- Cost effective: The cornrow method requires no expensive equipment, making it an affordable option for achieving beautiful curls.
- Hair protection: Cornrows not only create curls but also serve as a protective hairstyle, safeguarding your hair from external elements and reducing daily manipulation.
Using bobby pins for natural curls
If you’re looking for a simple and creative way to achieve natural, bouncy curls, look no further than your trusty bobby pins! Yes, that’s right! You can utilize bobby pins to curl your hair and create stunning, voluminous curls without the need for heat or expensive styling tools. In this article, we’ll guide you through the step by step process of achieving beautiful curls with bobby pins, ensuring your hair stays healthy and exudes a naturally curly charm.
- Step 1: Start by washing your hair as usual and gently pat dry it with a towel. You want your hair to be slightly damp, not dripping wet, as this will help the curls set effectively.
- Step 2: Divide your hair into small, manageable sections, and then use your fingers to wrap each section of hair around your index and middle fingers. Create tight curls by winding the hair all the way to the roots.
- Step 3: Once you’ve wrapped each section of hair into a tight curl, use bobby pins to secure the curls in place. Carefully insert the bobby pins along the curl, ensuring they hold the hair securely without causing any discomfort.
- Step 4: After securing all the curls with bobby pins, it’s time to let the magic happen! Leave the bobby pins in your hair overnight to allow the curls to set and develop naturally.
- Step 5: The next morning, gently remove the bobby pins from your hair and watch as your curls unravel into stunning, natural waves. Run your fingers through the curls to separate and define them for a more effortless and voluminous look.
Benefits of bobby pin curls:
- Heat free styling: Using bobby pins to create curls eliminates the need for heat styling, which can lead to hair damage and dryness.
- Easy and affordable: Bobby pins are readily available and cost effective, making this curling method accessible to everyone.
- Comfortable sleep styling: Unlike traditional curlers, bobby pins provide a comfortable and secure way to set your curls while you sleep.
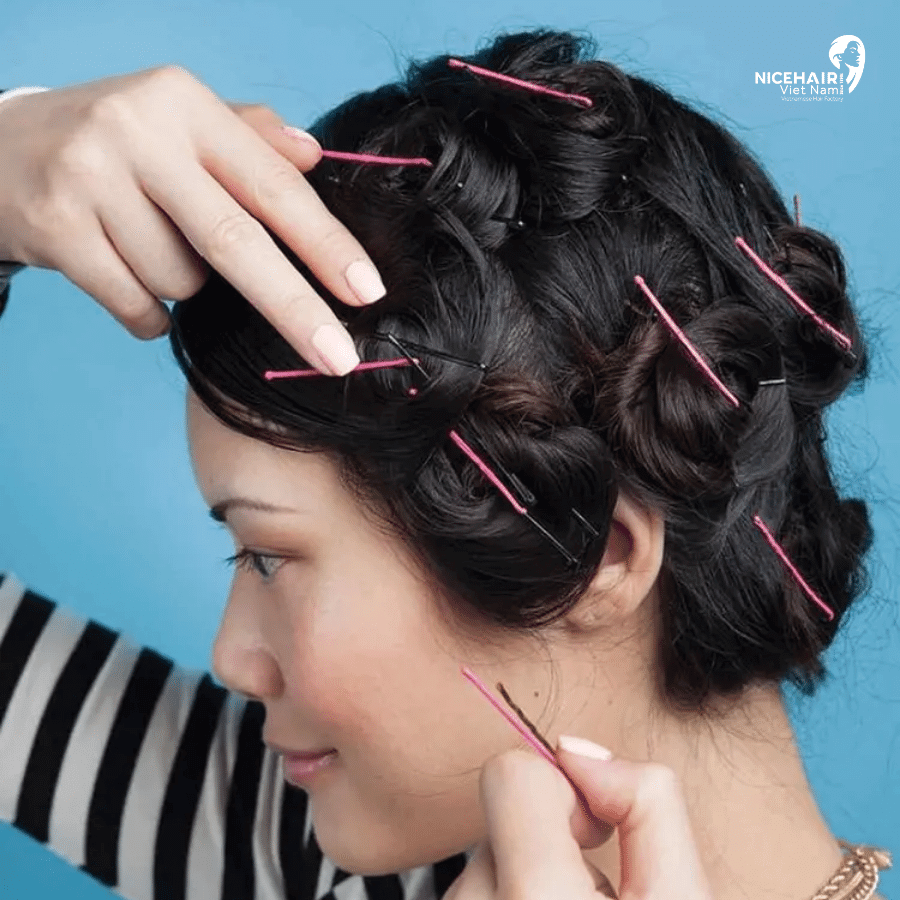
Curling hair with paper
Have you ever thought about using a common household item like paper to create stunning, natural curls in your hair? Paper can be a handy tool to help you achieve those bouncy curls without the need for any heat or expensive styling products. In this article, we’ll walk you through a process of curling your hair with paper, turning it into a fun and creative DIY curling adventure.
- Step 1: Start by selecting a sheet of paper and rolling it tightly to ensure it stays in place. You can use any type of paper readily available at home, making this method accessible to everyone.
- Step 2: Now, take a small section of your hair and begin wrapping it around the paper roll, starting from the tips and moving towards the desired curling point. For looser curls, wrap the hair around the paper more loosely, and for tighter curls, wrap it tightly.
- Step 3: As you finish wrapping the hair around the paper, secure the paper in place by tying the two ends together. This ensures that the hair stays in position and maintains its curled shape.
- Step 4: Once you’ve wrapped and secured all the sections of your hair, it’s time to let the curls set. Leave the paper rolls in your hair overnight, allowing the curls to develop naturally.
- Step 5: The next morning, gently untie and remove the paper rolls from your hair. Watch as your hair transforms into beautiful, naturally curled locks. Run your fingers through the curls to separate and define them for a more effortless and voluminous look.
Benefits of paper curling:
- Heat free styling: Paper curling eliminates the need for heat styling, preserving your hair’s health and natural texture.
- Budget friendly: Using paper to curl your hair is a cost effective alternative to purchasing curling tools or products.
- Eco friendly: Paper is a biodegradable and environmentally friendly option for achieving gorgeous curls.
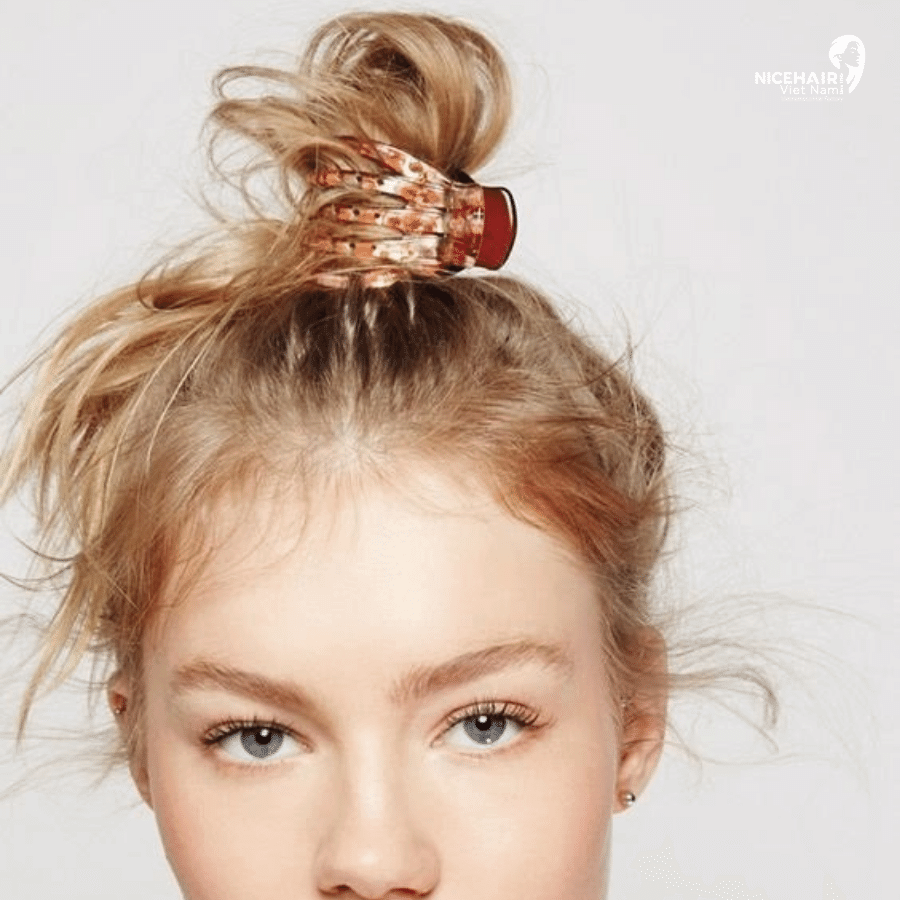
Natural curls hair with a hair crab clip
Many women have a simple yet effective tool at their disposal for achieving natural curls – the hair crab clip! This versatile accessory can be easily utilized to create stunning, bouncy curls without the need for heat or elaborate styling techniques. In this article, we’ll guide you through the step by step process of curling your hair with a hair crab clip, ensuring long lasting and effortlessly beautiful curls.
- Step 1: Start by brushing your hair to ensure it is smooth and tangle-free. Then, apply a light hairspray or hair gel to help the curls hold their shape for an extended period.
- Step 2: Using your hands, twist small sections of your hair and coil them into a round bun shape. Make sure the coils are tight enough to hold the curl, but not overly tight to avoid discomfort.
- Step 3: Now, use a hair crab clip to secure the coiled sections in place. Place the clip in a way that ensures the hair is not displaced or unraveled.
- Step 4: With all the coiled sections secured by the hair crab clip, it’s time to let the curls set. Leave the hair clips in place overnight, allowing the curls to form naturally.
- Step 5: The next morning, gently unclip the hair crab clips and witness the magic as your hair transforms into stunning, naturally curled locks. Run your fingers through the curls to separate and define them for a more effortless and voluminous look.
Benefits of hair crab clip curls:
- Heat free styling: Curling your hair with a hair crab clip eliminates the need for heat, preserving your hair’s health and reducing the risk of damage.
- Simple and accessible: Hair crab clips are widely available and easy to use, making this curling method accessible to everyone.
- Comfortable sleep styling: With hair crab clip curls, you can enjoy a comfortable night’s sleep while your hair sets into beautiful curls.
Important tips for creating natural curls
Although the methods mentioned above all utilize natural techniques, it is important to note that you should avoid excessive curling of your hair regularly, as it can lead to scalp congestion and hair damage.
Here are some key points to keep in mind when trying out natural curls methods:
Using a wide tooth comb
Hair perming is a popular method for achieving stylish curls and waves. However, if you lack experience in hair perming, your hair may end up tangled and damaged. To avoid these issues and maintain healthy, beautiful curls, it’s crucial to use a wide tooth comb when brushing your hair. By doing so, you’ll be able to detangle your hair without causing damage or excessive breakage.
A wide tooth comb is a hair care tool designed to gently detangle hair without causing stress or breakage. Compared to regular brushes or combs, wide tooth combs have more space between the teeth, reducing friction and preventing hair damage. This makes them an ideal choice, especially after perming, as your hair can become more prone to tangling and breakage due to the chemical treatment.
After a perm, your hair’s structure can be altered, making it more fragile. As a result, excessive brushing can lead to hair fall and damage. It’s essential to resist the temptation to brush your hair excessively, especially when it’s wet. Wet hair is more susceptible to breakage, so let your hair air dry or gently pat it with a towel before using a comb.
To effectively use a wide tooth comb after perming, follow these steps:
- Start from the ends: Begin combing your hair from the tips and work your way upwards gradually. This prevents putting excessive strain on your hair and allows for easier detangling.
- Take your time and be gentle while combing through knots and tangles. Patience is key to preventing hair breakage and maintaining your permed curls’ integrity.
- If your hair is severely tangled, divide it into smaller sections and detangle one section at a time. This approach will make the process easier and less damaging to your hair.
Using a wide tooth comb is a simple yet effective way to care for your hair after perming. By adopting gentle combing techniques and taking proper care of your permed hair, you can enjoy beautiful curls without worrying about tangles, damage or breakage.
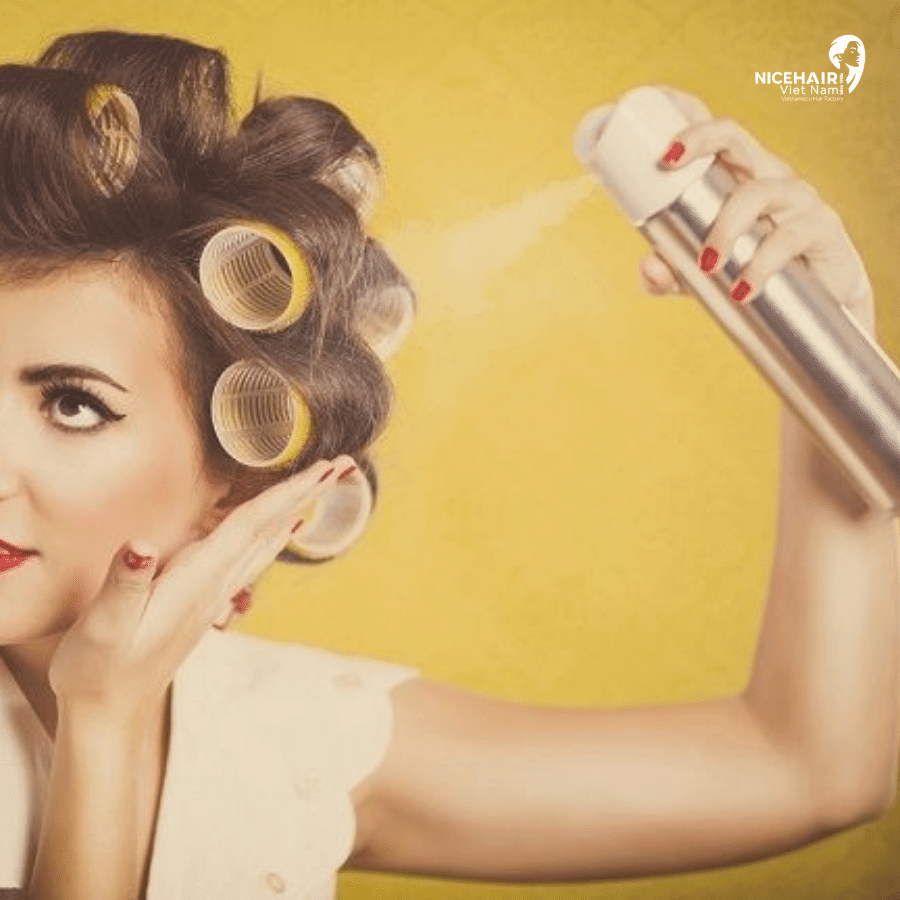
Cleansing after using hair spray
Hair spray is a popular styling product used to maintain the shape and texture of permed hair, especially in windy conditions. It helps keep your beautifully curled locks intact, preventing them from getting tangled and frizzy. While hair spray is beneficial for achieving long lasting hairstyles, it is essential to cleanse your hair thoroughly afterwards. Regularly washing your hair after using hair spray not only removes chemical residue but also refreshes and rejuvenates your hair, making it essential after attending parties, work, or social events.
Hair spray is a valuable tool for preserving the curls achieved through hair perming. It contains polymers and fixatives that form a protective layer around your curls, providing them with lasting hold and resilience. When you’re out and about, hair spray acts as a shield against environmental factors like wind and humidity, preventing your curls from losing their shape and becoming unruly.
- Although hair spray is effective in keeping your curls intact, it leaves behind a residue that can accumulate on your hair and scalp. This buildup can make your hair feel weighed down, look dull, and even lead to scalp irritation. Therefore, regular and thorough hair cleansing is crucial to eliminate any product residue and impurities, ensuring your hair remains fresh and healthy.
- To ensure your hair stays vibrant and lively after using hair spray, follow these steps when washing your hair:
- Pre wash detangling: Before shampooing, gently detangle your hair using a wide-tooth comb to remove any knots or tangles caused by the hair spray.
- Select a suitable shampoo: Opt for a nourishing and sulfate-free shampoo that gently cleanses your hair without stripping it of its natural oils. Look for products designed for permed or chemically treated hair.
- Rinse thoroughly: Make sure to rinse your hair thoroughly to remove all traces of hair spray and shampoo.
- Condition your hair: Apply a moisturizing conditioner, focusing on the ends of your hair. This step helps replenish moisture and maintain the softness of your permed curls.
- Avoid hot water: Use lukewarm or cool water to wash your hair, as hot water can strip away essential oils and make your hair dry and brittle.
Hair spray is an excellent ally for maintaining your permed curls’ shape and structure, particularly in windy conditions. However, proper hair care is crucial to ensure your hair remains healthy and beautiful.
Adding keratin to your hair care routine
What is keratin? Keratin is a fibrous protein that is a fundamental building block of hair, skin, nails and various other parts of the body. In the context of hair, keratin plays a vital role in providing strength, structure, and protection to each strand. It forms the outermost layer of the hair, known as the cuticle, which acts as a protective shield for the inner layers.
Keratin is responsible for the overall health and integrity of the hair. When the hair is healthy and well nourished, the cuticle lies flat, giving the hair a smooth and shiny appearance. However, factors such as excessive heat styling, chemical treatments, environmental stressors, and poor hair care practices can deplete the natural keratin in the hair, leading to damage, breakage, and dullness. Hair care products that contain keratin are designed to replenish and strengthen the hair by restoring its protein content. Keratin infused shampoos, conditioners and treatments can help repair and reinforce the cuticle, making the hair more resistant to damage and improving its overall appearance. These products are particularly beneficial for those with weak, damaged or chemically treated hair, as they can help restore strength and shine to the hair strands.
If you’re struggling with weak, brittle hair that is prone to breakage and shedding, incorporating keratin into your hair care routine can be highly beneficial. Keratin is a protein that is naturally found in our hair, providing structure and strength to each strand. However, factors like chemical treatments, heat styling and environmental stressors can deplete the keratin in our hair, leading to damage and dullness.
- Using shampoos, conditioners, and treatments enriched with keratin offers several advantages for your hair:
- Strengthening: Keratin reinforces the hair shaft, making it more resistant to breakage and reducing hair fall.
- Smoothing: Keratin can help to smooth down frizz and flyaways, leaving your hair looking sleek and polished.
- Restoring shine: By repairing the hair cuticle, keratin restores natural shine and luster to your hair.
- Enhancing Elasticity: Keratin improves hair flexibility, reducing the risk of damage during styling.
- Incorporating Keratin into Your Hair Care Routine: To make the most of keratin’s benefits, follow these steps in your hair care routine:
- Choose the right products: Look for shampoos, conditioners, and hair masks that contain keratin as one of the main ingredients. These products are specifically formulated to deliver keratin’s benefits to your hair.
- Regular use: Incorporate keratin-infused products into your regular hair care routine. Consistent use will yield the best results over time.
- Apply correctly: Follow the instructions provided on the product labels. Make sure to apply the products evenly and massage them gently into your hair and scalp.
- Use heat protection: If you use heat styling tools, apply a heat protectant spray before styling to minimize heat-induced damage.
- Avoid harsh chemicals: Reduce the use of harsh chemicals, such as bleach or strong dyes, that can further deplete keratin in your hair.
If your hair is weak, damaged and lacks shine, incorporating keratin into your hair care routine can be a game changer. Using keratin infused products will help replenish your hair’s cuticle, restore strength, and enhance its overall resilience.
Protecting after perming
After getting a perm, your curls are looking fabulous, and you want to ensure they stay that way for as long as possible. To maintain the beauty and health of your permed hair, it’s essential to protect it from external elements like sunlight and dusty winds. By taking some simple precautions, you can help your curls retain their shape and strength, ensuring they look stunning and healthy.
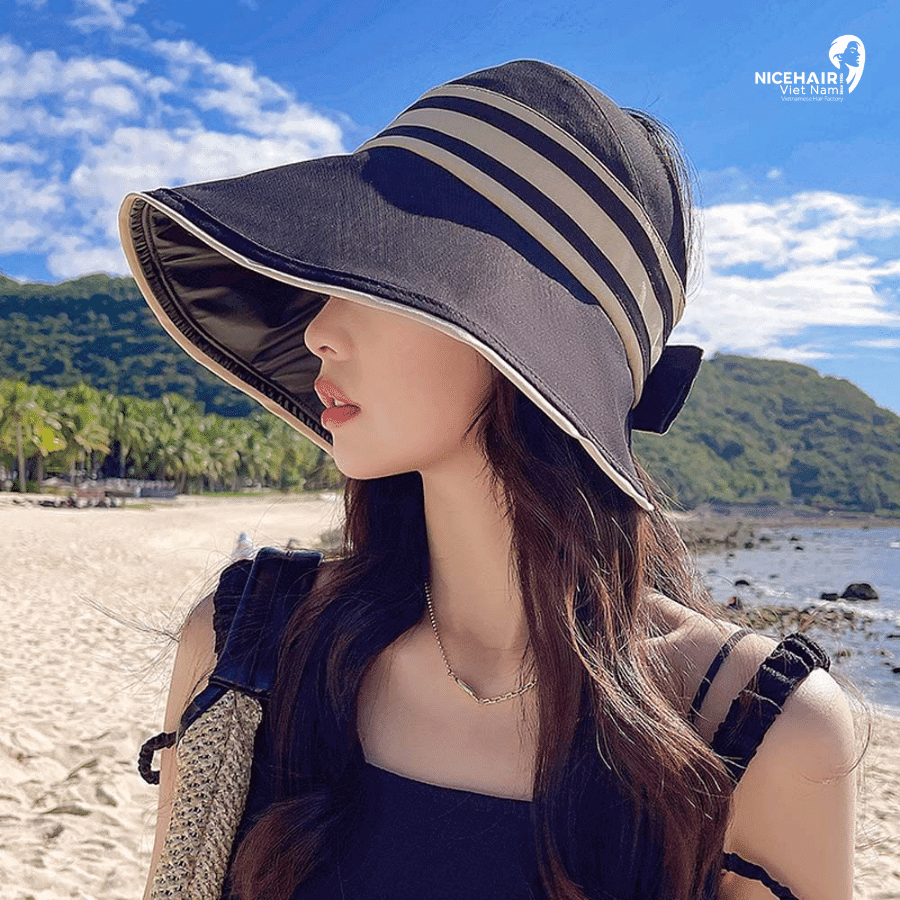
- The sun’s UV rays can be damaging to your hair, especially if it’s chemically treated with a perm. Prolonged exposure to sunlight can lead to dryness, color fading, and weakened hair strands. Here’s how to protect your permed hair from the sun’s harmful effects:
- Wear a hat or scarf: Whenever you’re outside during peak sun hours, cover your hair with a hat, scarf, or cap. This physical barrier will shield your curls from direct sunlight.
- Use UV protectant products: Invest in hair care products, like leave n conditioners or styling sprays, that contain UV filters. These products create a protective layer over your hair, reducing UV damage.
- Limit sun exposure: When possible, try to avoid prolonged exposure to direct sunlight, especially during the hottest hours of the day.
- Dusty and windy environments can cause tangles, frizz, and even breakage to your permed hair. Here are some tips to protect your curls from the effects of dusty winds:
- Tie your hair back: When venturing out into dusty areas, tie your hair back in a loose braid or bun. This will help prevent tangling and minimize dust accumulation.
- Use a silk scarf: Wrap a silk scarf around your hair to act as a barrier against the dusty wind. Silk is gentle on your hair and reduces friction, preventing frizz and breakage.
- Apply hair oil or serum: Before heading out into the wind, apply a small amount of hair oil or serum to your curls. This adds moisture and helps to seal the hair cuticle, reducing the impact of the wind.
- Adopt a Protective Nighttime Routine: Protecting your permed hair doesn’t stop at daytime. Implement a nighttime routine to ensure your curls remain healthy and free from damage:
- Sleep on silk or satin: Swap your cotton pillowcase for a silk or satin one. These fabrics cause less friction, reducing the risk of frizz and tangling while you sleep.
- Loose braid or pineapple: Before sleeping, loosely braid your hair or create a pineapple hairstyle (a high, loose ponytail) to prevent excessive movement and maintain your curls’ shape.
Keeping your permed hair looking gorgeous and healthy requires protection from the elements. Shielding your curls from sunlight and dusty winds will help maintain their shape and strength. Remember to use UV protectant products, wear a hat or scarf and adopt a protective nighttime routine.
Nourishing your hair
Maintaining healthy and beautiful hair requires more than just regular shampooing and conditioning. To keep your hair in optimal condition, incorporating hair oils and masks into your hair care routine is essential. Hair oils and masks provide much-needed nourishment, helping to repair damage and enhance your hair’s overall health. However, it’s crucial to choose the right products and avoid certain formulations that could have adverse effects on your hair.
- Hair oils and treatments play a crucial role in nourishing your hair from root to tip. They are formulated with essential nutrients that penetrate deep into the hair shaft, providing various benefits such as:
- Moisture and hydration: Hair oils and treatments replenish lost moisture, making your hair softer, smoother, and more manageable.
- Repair and protection: They help repair damaged hair, reducing split ends and preventing further breakage.
- Improved shine and luster: Nourishing ingredients in these products enhance the natural shine and luster of your hair.
- Strengthening: Hair oils and treatments fortify the hair strands, making them more resilient and less prone to damage.
- After shampooing, applying a hair oil or leave-in treatment is a fantastic way to provide your hair with essential nutrients and moisture. Hair oils like argan oil, coconut oil, and jojoba oil are popular choices. However, it’s important to avoid using hair shine sprays, as they often contain alcohol and other ingredients that can dry out your hair, making it brittle and more susceptible to damage.
- In addition to hair oils, hair masks are another excellent option for nourishing your hair deeply. Hair masks are intensive treatments that deliver a concentrated dose of nutrients to your hair, promoting repair and revitalization. You can use hair masks once a week or as needed, depending on your hair’s condition and needs. Look for masks that address your specific concerns, such as frizz control, hydration, or damage repair.
- How to apply hair oils and masks? Follow these steps to maximize the benefits of hair oils and masks:
- Hair oil application: After washing and towel drying your hair, take a small amount of hair oil and apply it evenly through your damp hair, avoiding the roots. Focus on the mid lengths and ends where the hair is most prone to dryness and damage.
- Hair mask application: After shampooing, apply the hair mask to clean, damp hair. Comb it through to ensure even distribution, and then leave it on for the recommended time. Rinse thoroughly to reveal nourished and revitalized hair.
Nourishing your hair with hair oils and masks is a vital part of maintaining its health and beauty. These products provide essential nutrients, repair damage and strengthen your hair, making it more resilient and lustrous. Be sure to choose hair oils and masks that suit your hair type and needs and avoid using drying hair shine sprays.
Not to overuse create natural curls
When it comes to styling your hair, it’s important to strike a balance and avoid excessive manipulation or treatments. While natural curls can be beautiful and alluring, subjecting your hair to too much styling can lead to damage and loss of its natural texture.
By allowing your hair to rest and be free from excessive styling, you provide it with the opportunity to regain its natural strength and resilience. Letting your hair air dry or using low heat settings when styling can help preserve its integrity and minimize the risk of damage. Embracing your hair’s natural texture and working with it rather than against it can result in effortless and stunning hairstyles.
Furthermore, incorporating a proper hair care routine is essential to keep your locks looking their best. Regularly moisturizing your hair with deep conditioning treatments and using nourishing products can enhance its health and appearance. Gentle detangling techniques and regular trims are also essential to prevent tangling, split ends and promote healthy hair growth.
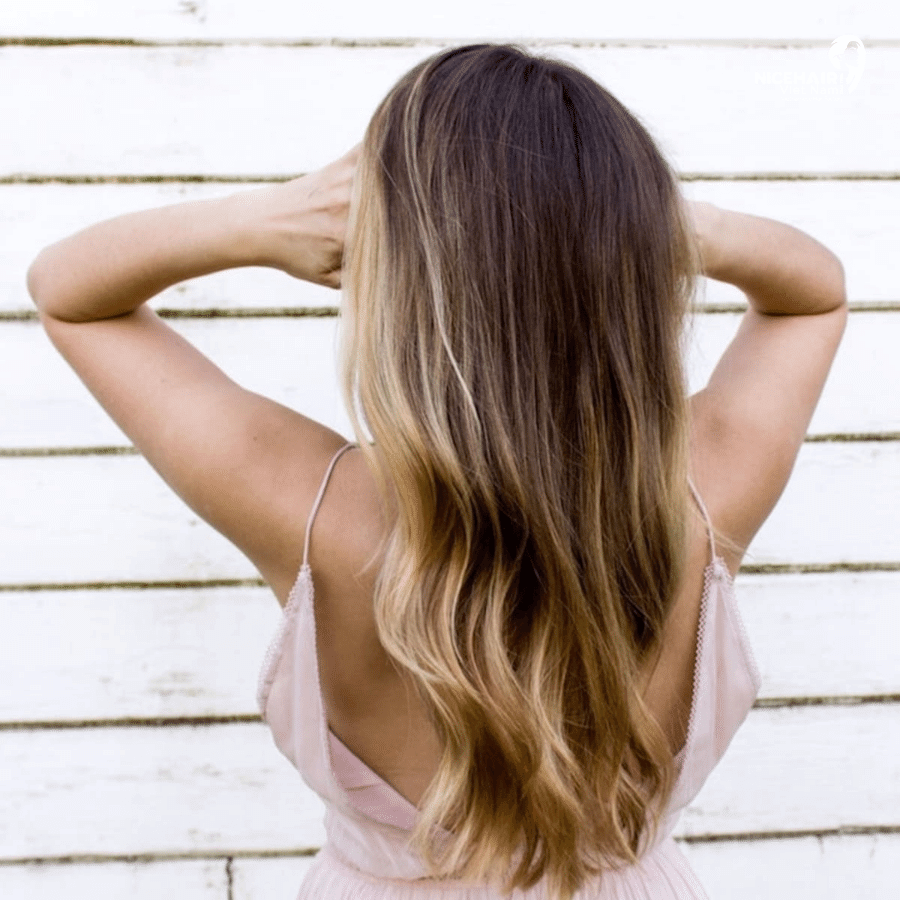
Creating natural curls that last long without the need for a curling iron is not only a cost effective approach but also a fantastic way to enhance your hair’s beauty and overall health. By embracing your hair’s natural texture and following the right techniques, you can achieve stunning curls that stand the test of time. So, bid farewell to the curling iron and embrace your natural curls. With the right care and techniques, you can achieve effortlessly stunning curls that exude beauty and confidence, leaving you with a head of gorgeous, long lasting curls that turn heads wherever you go.

Leave a Reply