Are you dreaming of effortless, beachy waves that exude a sense of enchantment and grace? Look no further than the captivating hair trend: mermaid waves. Inspired by the allure of mermaids and the serene beauty of the ocean, mermaid waves offer a whimsical and mesmerizing hairstyle that is perfect for any occasion. In this comprehensive guide, we will take you on a journey through the world of mermaid waves, covering everything from the basics to advanced techniques. This trendy hairstyle has been taking social media platforms by storm, with TikTok leading the way. Get ready to make waves and unleash your inner sea goddess!
What are mermaid waves?
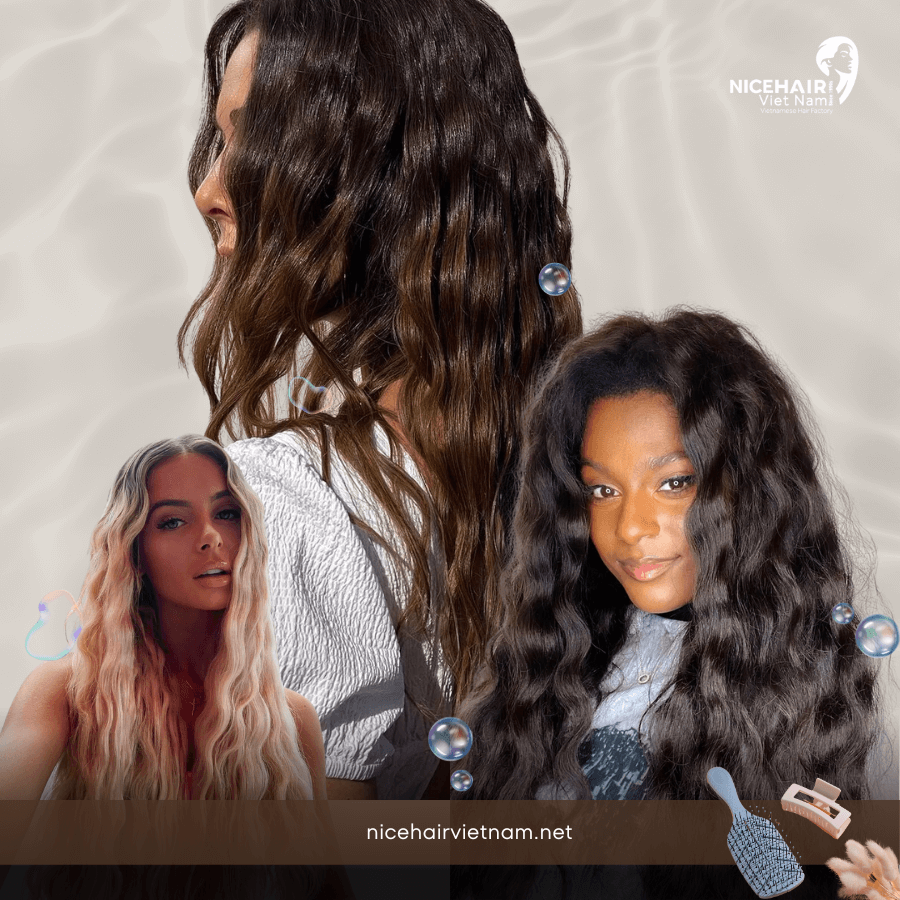
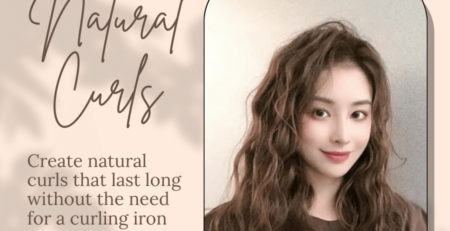
Mermaid waves are a hairstyle characterized by loose, beachy waves that resemble the effortless, tousled hair of a mermaid. This look is all about embracing natural texture and creating soft, voluminous waves that cascade down your shoulders. Mermaid waves give off a carefree and bohemian vibe, making it perfect for both casual and formal occasions.
The name “mermaid waves” originates from the resemblance of the hairstyle to the mesmerizing waves that mermaids flaunt in mythical tales. By embracing this hair trend, you can bring a touch of oceanic magic to your everyday look or elevate your style for special occasions.
The mermaid trend from film to reality
The mermaid waves trend has been further popularized by the live-action version of The Little Mermaid movie. The movie features Ariel, the iconic mermaid princess, and her signature red hair and beachy waves. The mermaid waves trend has been seen on social media platforms like TikTok, where the hashtag #mermaidhair has over 1.1 billion views.
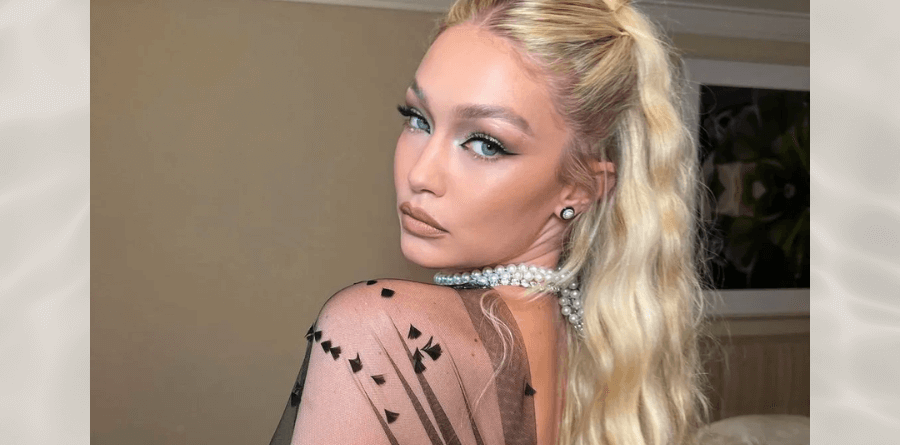
Mermaid waves have been a popular hairstyle for a while now, and it seems like the trend is here to stay. The hairstyle has been seen on many celebrities, including Kim Kardashian, Kylie Jenner, Zendaya, Megan Fox, Gigi Hadid, Priyanka Chopra, Jennifer Lopez, Cardi B, Normani, and Khloe Kardashian, etc.
The charm of mermaid waves
There’s something undeniably captivating about mermaid waves. These curls have a unique charm that adds a touch of whimsy and allure to any hairstyle.
- Effortless elegance: effortlessly blend elegance with a laid-back vibe, creating a look that is both glamorous and approachable. The loose, tousled waves exude a sense of effortless beauty, as if you’ve just emerged from a dip in the ocean. This natural, undone elegance is what makes mermaid waves so alluring.
- Versatile style: One of the key attractions of mermaid waves is their versatility. Whether you’re attending a beach wedding, a casual brunch, or a glamorous evening event, mermaid waves can complement various outfits and occasions with their timeless appeal. You can dress them up or down, depending on the occasion, making them a go-to hairstyle for any event.
- Natural beauty: the waves embrace the natural texture of your hair, enhancing its beauty and allowing you to showcase your locks in their true form. Rather than fighting against your hair’s natural tendencies, this hairstyle works with the natural movement and texture of your locks, enhancing their natural beauty. The result is a stunning, effortless look that enhances your individuality.
- Youthful and playful: There is a youthful and playful vibe associated with mermaid waves. The carefree nature of this hairstyle brings out your playful side and adds a touch of youthfulness to your overall appearance. The tousled waves create a sense of movement and freedom, allowing you to embrace your inner mermaid and channel a carefree spirit.
- Confidence booster: Wearing mermaid waves can instantly boost your confidence. There is something empowering about rocking a hairstyle that exudes such charm and elegance. Mermaid waves have the ability to transform your look, making you feel like a true goddess. When you feel confident in your appearance, it radiates through your entire demeanor and leaves a lasting impression.
Select your tools and products for mermaid waves
To achieve flawless mermaid waves, you’ll need the right tools and products. Remember , it’s important to choose high-quality tools and products among these options and use them correctly. Always follow the instructions provided with each tool or product, and prioritize the health and safety of your hair throughout the styling process. Here are some essentials:
Tools
Curling wand or iron: A curling wand or iron with a medium-sized barrel is ideal for creating mermaid waves. The size of the barrel determines the size of your waves, so choose according to your desired look.
Bobby pins or hairpins: Keep some bobby pins or hairpins on hand to secure any loose strands or create intentional twists or braids within your mermaid waves. They add versatility and hold to your hairstyle.
Comb or brush with pointed tail: A comb or brush with a pointed tail is useful for creating precise partings or teasing sections of your hair to add volume at the roots.
Hair elastic or hair ties: If you decide to style your mermaid waves into an updo or half-up style, having hair elastics or hair ties will come in handy for securing your hair in place.
Hair clips or sectioning clips: Use hair clips or sectioning clips to divide your hair into manageable sections while styling. This helps you work systematically and ensures all sections are evenly curled.
Wide-Tooth Comb or Paddle Brush: A wide-tooth comb or paddle brush is essential for detangling your hair before styling. It helps distribute products evenly and prevents breakage while combing through your waves.
Products
Wide-tooth comb or paddle brush: A wide-tooth comb or paddle brush is essential for detangling your hair before styling. It helps distribute products evenly and prevents breakage while combing through your waves.
Heat protectant spray: Before using any heat styling tool, always apply a heat protectant spray to shield your hair from damage caused by heat. This step is crucial to maintain the health of your locks.
Texturizing spray or sea salt spray: To enhance the beachy texture of your mermaid waves, use a texturizing spray or sea salt spray. These products add volume, grip, and that coveted tousled effect.
Hairspray: Choose a lightweight hairspray with flexible hold to set your mermaid waves in place. Opt for a spray that doesn’t weigh down your hair or make it feel stiff.
Hair serum or oil: For added shine and to tame any frizz, apply a small amount of hair serum or oil to your waves. This helps create a polished, glossy finish.
Minimalist tools and products
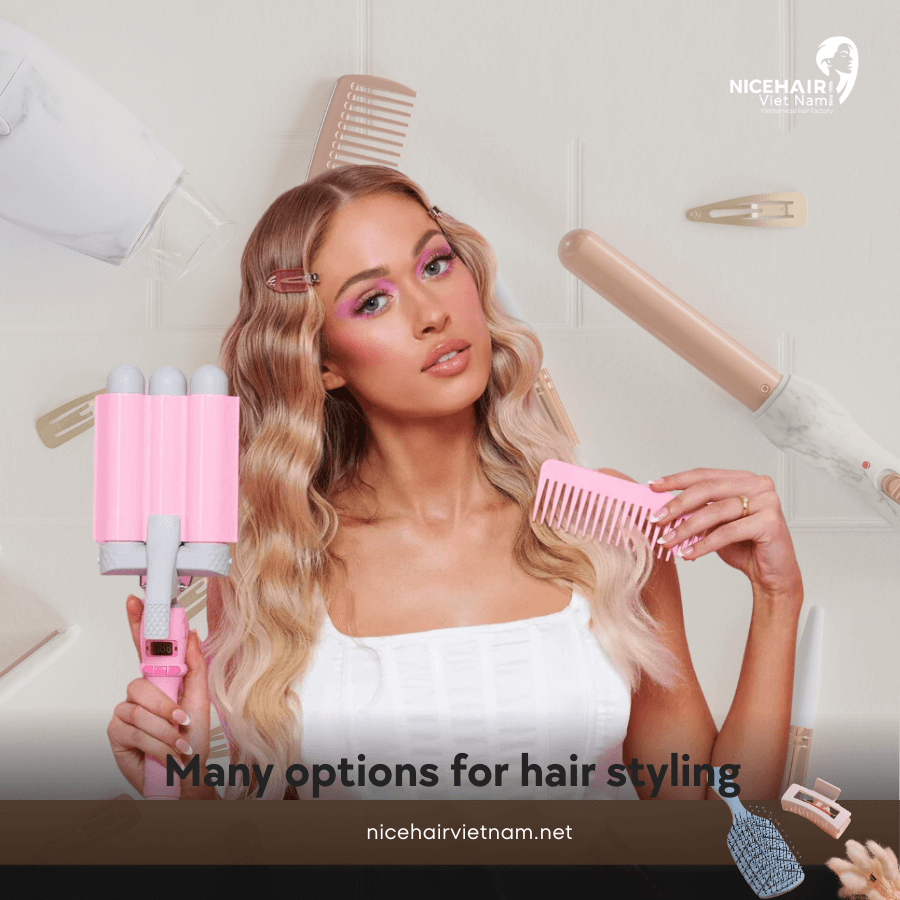
If you’re looking to achieve mermaid waves but don’t have access to a wide range of styling tools and products, you can still create beautiful waves with a minimalist approach. Here are the essential tools and products you’ll need:
Tools
Wave iron: A wave iron is the easiest shortcut to mermaid waves. It looks like a crimper fused with a trio of curling irons and can create loose, beachy waves in minutes.
Curling wand or iron: A curling wand or iron with a barrel size that matches your desired wave size can also be used to create mermaid waves. A larger barrel will create looser waves, while a smaller barrel will give you tighter curls.
Mermaid waver: A mermaid waver is a curling tool with three conjoined barrels that can create tousled waves in minutes. It can be used on all hair lengths and customized to your preferences
Products
Sea salt spray: Sea salt spray is a must-have product for creating mermaid waves. It adds texture and enhances the natural wave pattern of your hair, giving you that effortless beachy look.
Heat protectant spray: Before using any heat styling tools, make sure to apply a heat protectant spray to shield your hair from the damaging effects of heat.
Hairspray: To set your mermaid waves and ensure they last all day, use a hairspray with a flexible hold. This will keep your waves in place without making them stiff or crunchy.
The most important product
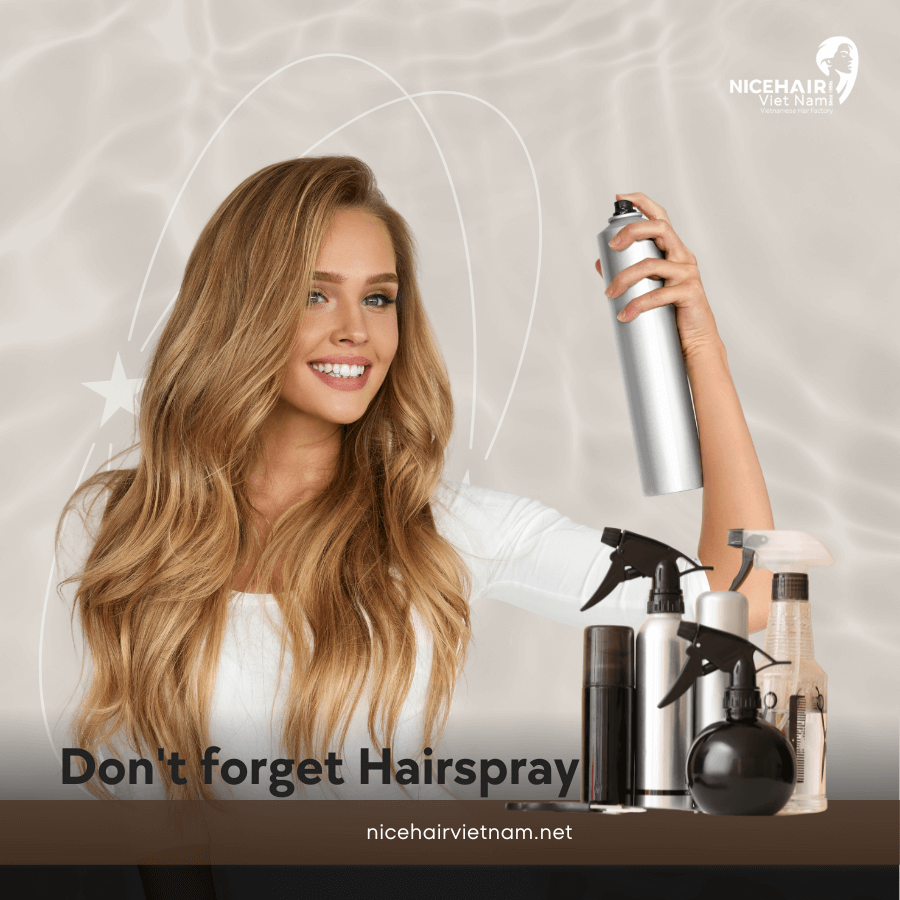
The most important product to keep waves stable and long-lasting is a high-quality hairspray.
What is hairspray?
Hairspray is a hair styling product that comes in a spray form. It is designed to help hold hairstyles in place and provide a level of control and longevity. Hairspray contains polymers and resins that create a film-like coating on the hair, helping to lock it in the desired style.
It is typically used as a finishing step in the styling process to set the hair and prevent it from losing its shape due to movement or environmental factors. Hairspray is available in different hold strengths, ranging from light to strong, allowing you to choose the level of hold that suits your hairstyle and desired outcome.
Hairspray helps set the waves in place and provides a flexible hold that can withstand movement and environmental factors. When choosing a hairspray, opt for one that is lightweight and offers a strong hold without leaving your hair feeling stiff or crunchy. A good hairspray will help lock in the shape and texture of your mermaid waves, ensuring they stay intact for an extended period of time. Remember to hold the hairspray at an arm’s length from your hair and mist it evenly to avoid excessive buildup in any specific area.
Preparing hair before styling
Before diving into creating stunning mermaid waves, it’s essential to properly prepare your hair. Follow these steps to ensure optimal results:
- Start with clean hair: Begin by washing your hair with a gentle shampoo and conditioner to remove any product buildup or impurities. Clean hair provides a fresh canvas for styling.
- Apply heat protectant: Prior to using any heat styling tools, apply a heat protectant spray or serum to your damp hair. This helps to shield your strands from the damaging effects of heat and minimize the risk of hair damage.
- Detangle gently: Use a wide-tooth comb or a detangling brush to gently remove any knots or tangles from your hair. Start from the ends and work your way up to avoid causing unnecessary breakage or damage.
- Choose the right products: Depending on your hair type and desired outcome, select styling products that enhance wave formation and provide hold. Opt for a lightweight mousse, sea salt spray, or texturizing spray to add volume and texture to your waves.
- Allow your hair to partially air dry: To achieve natural-looking waves, it’s best to allow your hair to air dry partially before styling. Let your hair dry naturally until it’s about 80% dry, and then proceed with the styling process.
- Use a diffuser or air dry completely: If you prefer to enhance your hair’s natural texture, you can use a diffuser attachment on your blow dryer to gently dry your hair while scrunching it with your hands. Alternatively, you can let your hair air dry completely before styling.
By following these preparatory steps, you’ll create the perfect foundation for achieving beautiful and long-lasting mermaid waves.
Creating mermaid waves: step-by-step guide
Creating mermaid waves is easier than you might think. Here’s a step-by-step guide to help you achieve this stunning hairstyle:
- Prepare your hair: Start with clean, dry hair. If desired, apply a heat protectant spray to shield your locks from heat damage.
- Section your hair: Divide your hair into manageable sections using hair clips or sectioning clips. This ensures an organized and systematic approach to styling.
- Heat styling: Take a small section of hair and wrap it around a curling wand or iron, starting from the mid-length of the hair. Hold for a few seconds, then release the curl. Repeat this process for all sections of hair, working your way around your head.
- Alternate curling directions: For a more natural and dimensional look, alternate the curling direction. Curl some sections away from your face and others towards your face. This creates a more effortless and beachy effect.
- Leave the ends out: To achieve that relaxed and tousled vibe, leave the ends of your hair out of the curling iron or wand. This results in a more natural-looking wave rather than a perfectly defined curl.
- Finger comb the waves: Once all the sections are curled and cooled, gently run your fingers through the waves to separate them and create a softer, more lived-in look. Avoid using a brush or comb, as this can disrupt the wave pattern.
- Set the waves: If desired, mist a lightweight hairspray over your hair to set the waves and provide a flexible hold. Hold the hairspray at arm’s length to avoid weighing down the waves or making them feel stiff.
- Optional: Add texturizing spray or sea salt spray: For extra texture and a beachy feel, you can spritz some texturizing spray or sea salt spray onto your waves. This adds a touch of grit and enhances the tousled look.
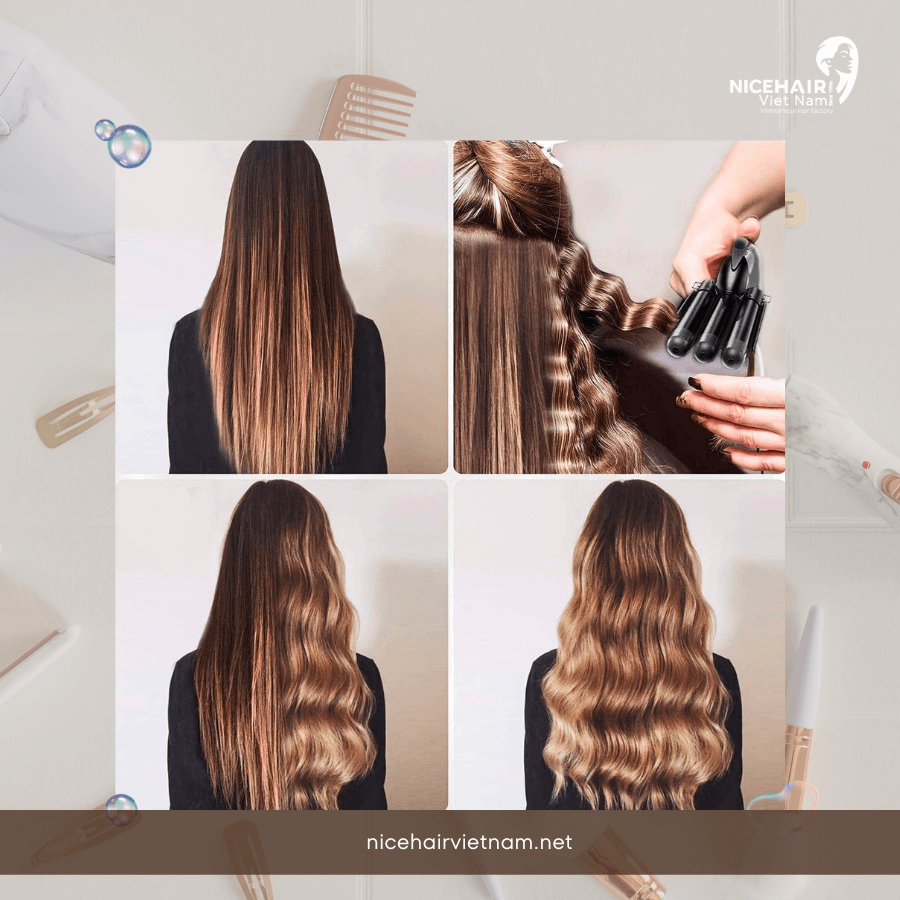
Enjoy your mermaid waves: Once your waves are set and styled to your liking, admire your beautiful mermaid-inspired locks. Embrace the carefree and whimsical vibe of mermaid waves as you confidently showcase your stunning hairstyle.
Heat styling vs. heatless techniques
When it comes to creating mermaid waves, you have the option to use heat styling tools or opt for heatless techniques. Let’s explore the pros and cons of each approach:
Heat styling for mermaid waves
Heat styling involves using curling irons, wands, or flat irons to create waves. Here are the advantages and considerations:
Pros: Heat styling tools provide precise control over the size and shape of your waves. They allow you to create uniform curls with ease. Heat styling also tends to produce longer-lasting waves that hold their shape throughout the day.
Cons: Excessive heat can damage your hair over time. Heat styling tools remove moisture from your hair, leading to dryness and potential breakage. It’s important to use a heat protectant spray and avoid using excessive heat to minimize damage.
Heatless techniques for mermaid waves
Heatless techniques involve creating waves without using any heat styling tools. Here are the advantages and considerations:
Pros: Heatless techniques are generally gentler on your hair and minimize the risk of heat damage. They are a great option for those with more fragile or damaged hair. Heatless techniques can also be convenient when you’re on the go and don’t have access to heat styling tools.
Cons: Heatless techniques may require more time and patience to achieve desired results compared to heat styling. The waves created through heatless techniques might not have the same longevity as those created with heat. However, there are methods to help prolong the life of heatless waves, such as using the right products and techniques.
Some popular heatless techniques for creating mermaid waves include:
- Braiding damp hair before bed and unraveling the braids in the morning for natural-looking waves.
- Twisting sections of damp hair into buns or knots and leaving them to dry overnight for textured waves.
- Using foam or fabric hair curlers to set damp hair and allowing it to dry naturally for bouncy waves.
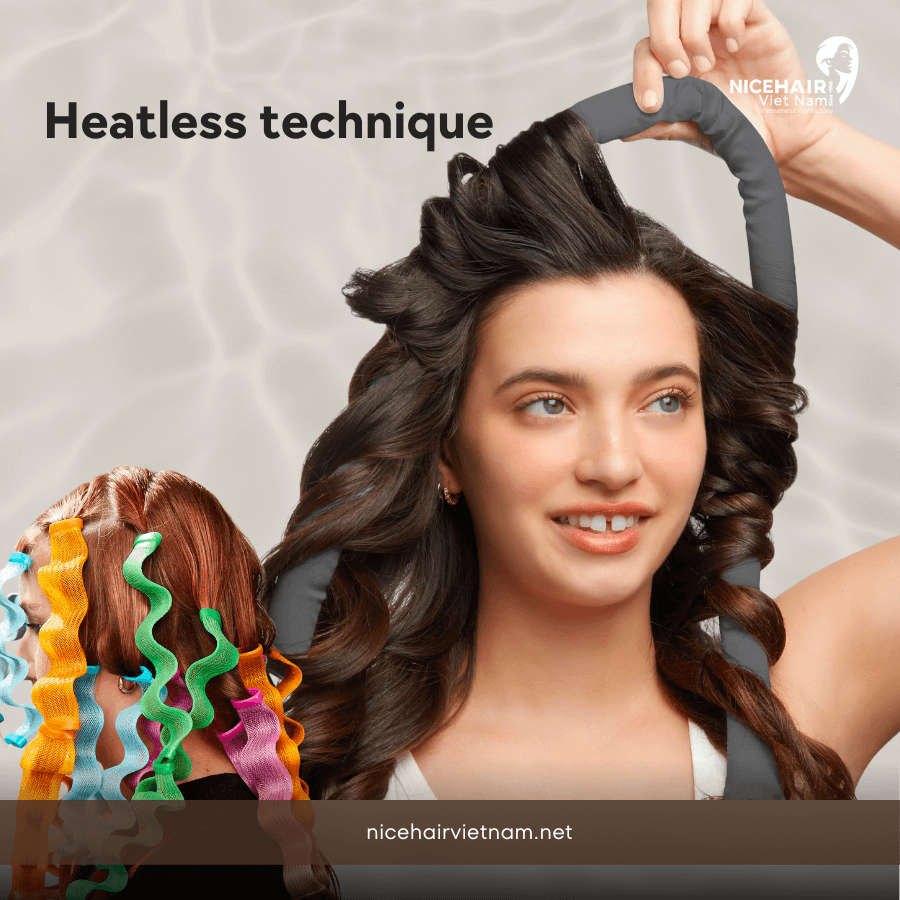
Both heat styling and heatless techniques have their merits, so it’s important to choose the approach that best suits your hair type, preferences, and lifestyle. Remember to prioritize the health of your hair by using heat protectant sprays, proper techniques, and giving your locks regular breaks from heat styling.
Stable hairstyle for a period of time
The time it takes to create mermaid waves can vary depending on the length and thickness of your hair, as well as the method you use to achieve the waves. Here are some factors that can affect the time it takes to create mermaid waves:
- Hair length: In general, mermaid waves look best on medium to long hair. The longer your hair, the more time it may take to curl all of your hair sections.
- Hair thickness: If you have thick hair, it may take longer to curl all of your hair sections. You may need to divide your hair into smaller sections to ensure that all sections are evenly styled.
- Method: The method you use to create mermaid waves can also affect the time it takes. Using a wave iron or mermaid waver can create waves more quickly than using a curling wand or iron.
The longevity of mermaid waves can vary depending on several factors, including the method used to create the waves and the products used to set them. Here’s what we know:
- Products: Using a hairspray with a flexible hold can help set your mermaid waves in place and make them last longer. Look for a hairspray that offers humidity resistance to prevent frizz and maintain the shape of the waves.
- Hair type: The longevity of mermaid waves can also depend on your hair type. If you have naturally curly or wavy hair, your mermaid waves may last longer than if you have straight hair
In terms of going to the beach and underwater, mermaid waves can be affected by the saltwater and humidity. Saltwater can enhance the natural wave pattern of your hair, but it can also make your hair feel dry and tangled. Humidity can cause frizz and make your waves lose their shape. To maintain your mermaid waves at the beach, you can use a sea salt spray to add texture and a flexible hold hairspray to set your waves in place.
Achieving thicker and longer-looking mermaid waves with hair extensions
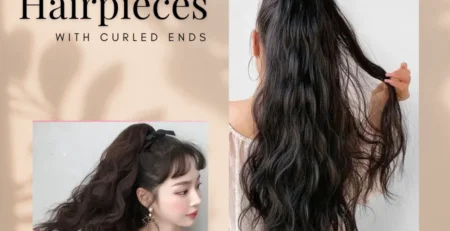
If you desire thicker and longer-looking mermaid waves, hair extensions can be a great solution. Here are some suggestions to achieve the desired results:
Choose high-quality extensions: Opt for human hair extensions that closely match your natural hair color and texture. Remy hair extensions are a popular choice as they provide a seamless blend and a natural look.
Determine the right length and thickness: Select extensions that match your desired length and desired level of volume. If you want to add both length and thickness, consider getting extensions that are slightly longer than your natural hair.
Prepare your natural hair: Before applying extensions, ensure your natural hair is clean, dry, and free of tangles. This will provide a smooth base for attaching the extensions.
Section your hair: Divide your hair into small sections using clips or hair ties. Start at the bottom and work your way up. This will make it easier to attach the extensions evenly throughout your hair.
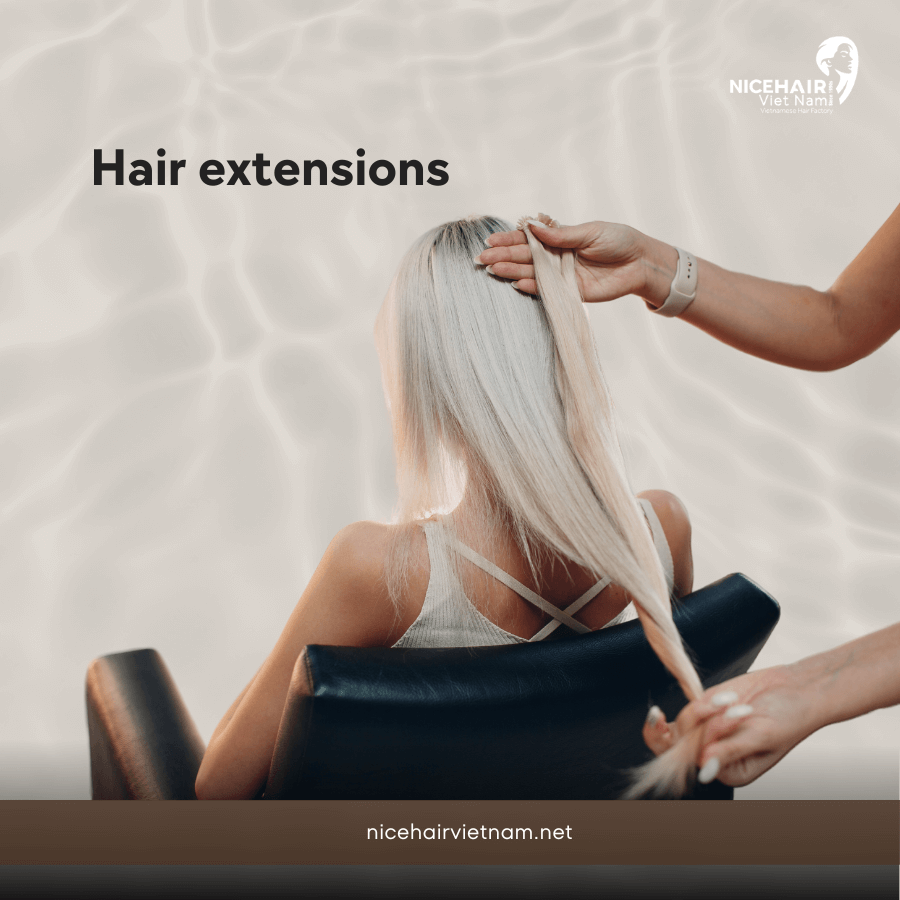
Attach the extensions: Take one hair extension weft at a time and position it close to the root of each section. Use clips, adhesive tape, or other attachment methods provided with the extensions to secure them in place. Be careful not to tug or pull on your natural hair during this process.
Blend the extensions: Once all the extensions are attached, gently comb through your hair to blend the extensions with your natural hair. You can use a curling wand or iron to curl both the extensions and your natural hair together for a cohesive look.
Style and set: After achieving the desired mermaid wave pattern, style your hair as desired. Use a lightweight hairspray to set the waves and ensure they last longer. Remember to hold the hairspray at arm’s length and mist it evenly over your hair.
By following these suggestions, you can achieve the appearance of thicker and longer-looking mermaid waves with the help of hair extensions. Remember to care for your extensions properly and follow the blog.nicehairvietnam.com ‘s instructions for maintenance and styling.
Contact us
Website: nicehairvietnam.com
Whatsapp: (+84) 846009647
Email: [email protected]
Factory address: Factory No1, Dong Tho’s Street Zone, Yen Phong Dist., Bac Ninh Province, Vietnam.
Office: No.25 Tho Thap Ward, Dich Vong Hau Ward, Cau Giay District, Hanoi City, Viet Nam


Leave a Reply